
When it comes to nail care, the tools you use can make all the difference. Among the myriad of options available, the 180 grit nail file stands out as a versatile and essential tool for achieving salon-quality nails at home. Whether you’re a nail art enthusiast or someone who simply wants to maintain healthy, well-groomed nails, this underrated tool deserves a spot in your beauty kit. Let’s dive into why the 180 grit nail file is a game-changer and how you can make the most of it.
What Makes the 180 Grit Nail File Special?
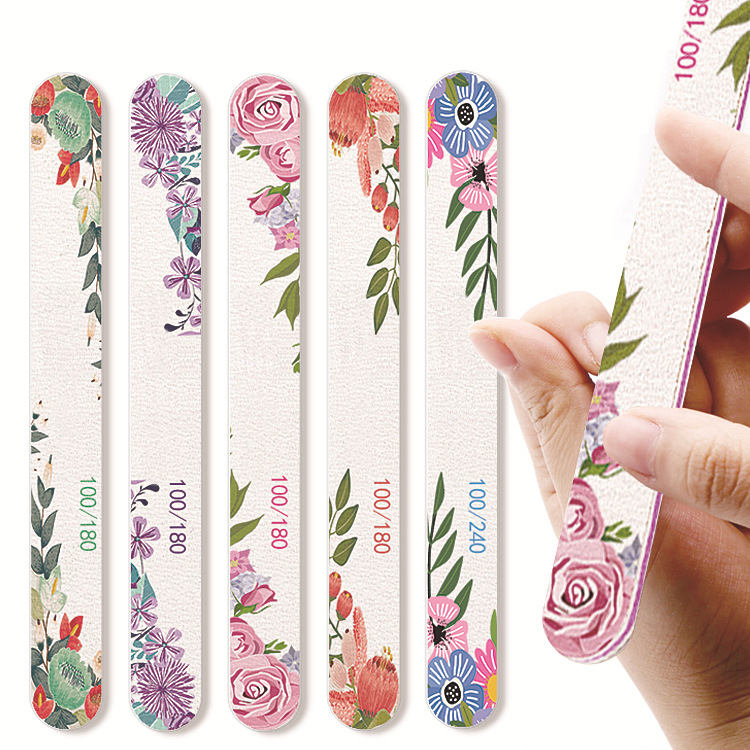
The “grit” of a nail file refers to the coarseness of its surface. A 180 grit nail file strikes the perfect balance between being gentle enough to avoid damaging your nails and effective enough to shape and smooth them efficiently. Unlike lower grit files (which can be too harsh) or higher grit files (which may be too fine for certain tasks), the 180 grit file is ideal for everyday use. It’s designed to file nails without causing splits, cracks, or unnecessary wear, making it a must-have for both natural and artificial nails.
Why Choose a 180 Grit Nail File?
- Versatility: The 180 grit nail file is suitable for a variety of tasks, from shaping natural nails to refining the edges of acrylics or gels. It’s a one-stop solution for most nail filing needs.
- Gentle Yet Effective: Its medium coarseness ensures that it removes excess length and smooths edges without being too abrasive. This makes it perfect for maintaining nail health while achieving your desired shape.
- Durability: High-quality 180 grit nail files are built to last. Unlike cheap emery boards that wear out quickly, a good 180 grit file can withstand repeated use, making it a cost-effective choice in the long run.
- Precision: The 180 grit file allows for precise shaping, whether you’re going for a classic square, a trendy almond, or a chic stiletto shape. Its balanced texture gives you control without over-filing.
How to Use a 180 Grit Nail File Like a Pro
Using a 180 grit nail file is simple, but there are a few tips to ensure you get the best results:
- Start with Clean, Dry Nails: Always file your nails when they’re dry, as wet nails are more prone to damage.
- File in One Direction: Instead of sawing back and forth, file in one direction to prevent splitting and peeling. This technique is gentler on your nails and helps maintain their strength.
- Shape Gradually: Take your time to shape your nails. The 180 grit file allows for controlled filing, so you can achieve your desired shape without overdoing it.
- Smooth the Edges: After shaping, use the file to gently smooth any rough edges. This step ensures a polished finish and prevents snagging.
- Finish with a Buffer: For an extra-smooth finish, follow up with a nail buffer. This will give your nails a glossy, professional look.
The 180 Grit Nail File for Artificial Nails
If you’re a fan of acrylics, gels, or dip powder nails, the 180 grit nail file is your best friend. It’s perfect for refining the shape of artificial nails and blending the edges seamlessly with your natural nails. Its medium grit ensures that you don’t accidentally file too much off, which can weaken the structure of your manicure.
The 180 grit nail file may not get as much attention as other nail tools, but it’s undoubtedly a powerhouse in the world of nail care. Its versatility, precision, and gentle yet effective texture make it an indispensable tool for anyone who values healthy, beautiful nails. Whether you’re a DIY nail enthusiast or a professional manicurist, the 180 grit nail file is a must-have in your arsenal. So, the next time you reach for a nail file, make sure it’s a 180 grit—your nails will thank you!